So first things first, you have to decide how you are going to achieve this amazing look. I read an article on marbleized nails and the technique they used was a little more complicated and took more patience than I could give at the time, however, there are "short cuts" so either way works.
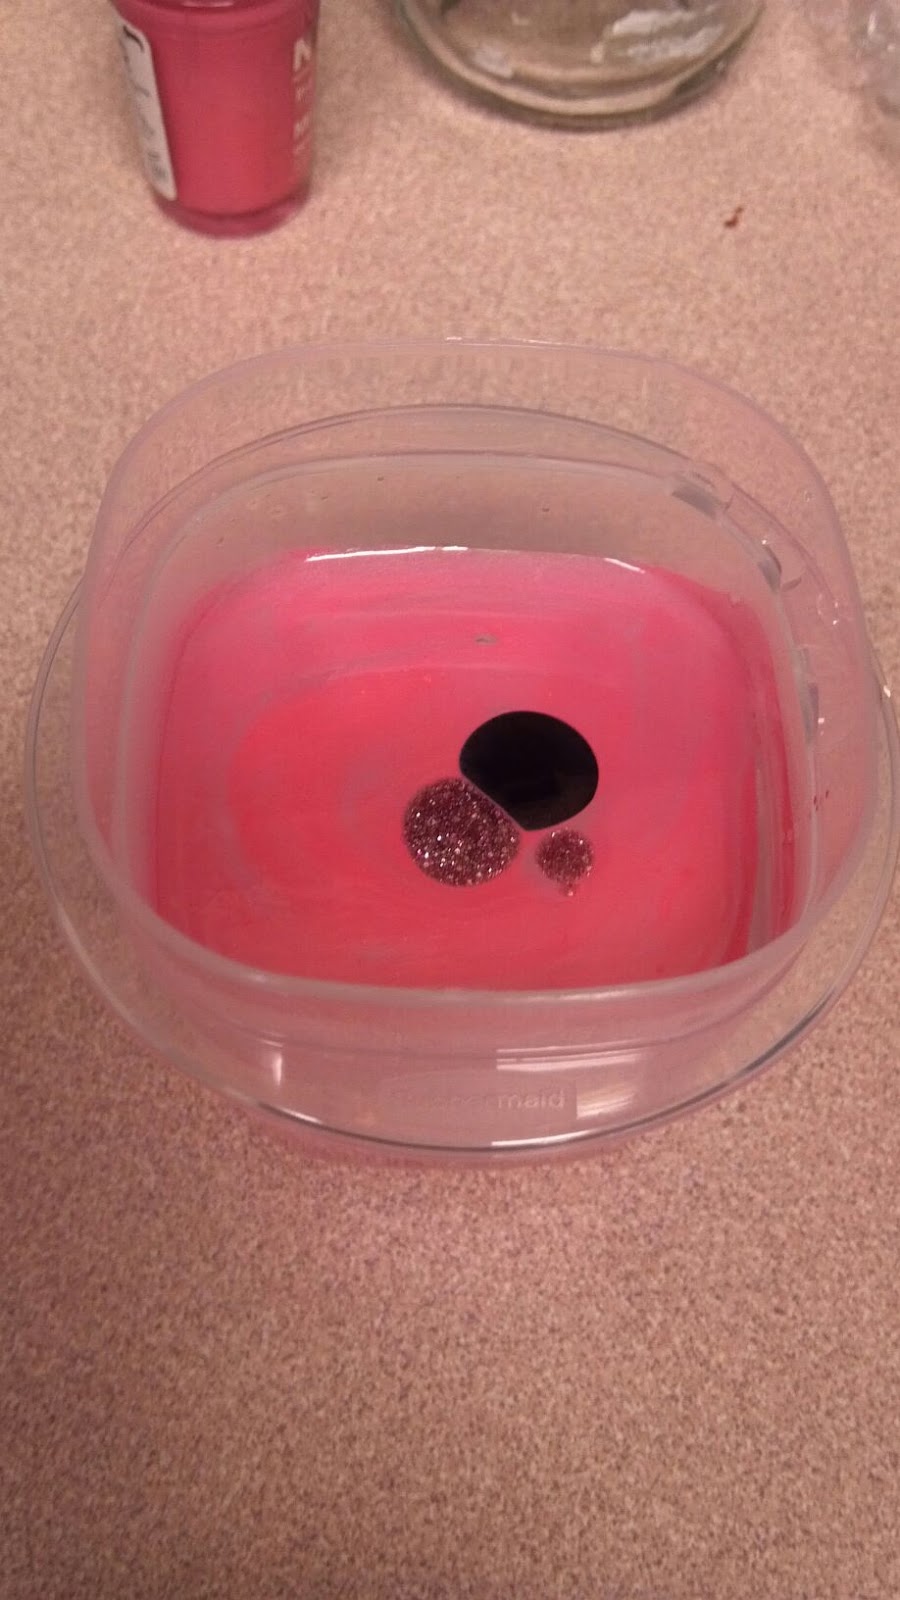
In the article you take a shallow bowl, fill with water and add a few drops of at least two colors nail polish. Then you use a tooth pick to swirl a design with the polish, but remember; too much mixing and you will make a different color and you wont be able to see your design. After that you gently and slowly dip each nail into to mixed polish. This technique is pretty messy, however, you can avoid a whole lot of clean up by using scotch tape on each side of your nail.
Here are some results of the "water" technique;


As you can see it wasn't the greatest result for me. You, however, may just have better luck!
So lets get down to the deets! My technique is fairly simple and consists of three steps.
Step One: Select colors of polish and mix into desired pattern. You can do this on cardboard or paper plate as shown. Remember not to over mix though or you'll loose the marble design.


Step Two: Here's where the short cuts come in ;) Apply and let dry, a base coat of the main color. Black was the star of my nail design so I painted one coat of black on my nails. Doing so will help achieve the marbleized look without all the mess! Pretty clever huh?
Step Three: Carefully dip each nail into the design. This will be almost like making a finger print but with your nail except you do NOT want to roll the nail in the polish. That ruins the design and mixes the colors further than desired and you'll end up with more of a single color instead of a marbleized look. Lastly, seal the deal and apply a clear coat. Don't let all your hard work go to waste!
Here is how is should look;


